When I work with display board eLearning templates, the image of the display board is only one part of the design.
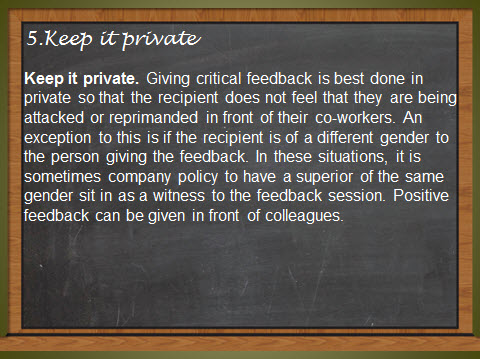
You’re probably used to seeing images like this (you don’t need to read the content, it’s just a placeholder):
…which is fine. But when I use display boards in my eLearning courses, the image above is just 1 of several views that I use.
Incorporate storytelling by creating multiple views
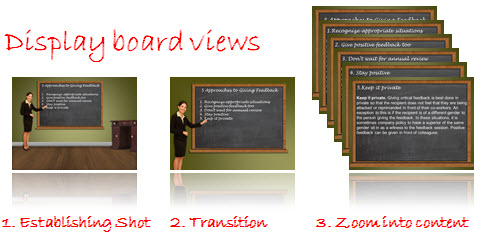
Information on a board is visually interesting, but it doesn’t take advantage of the opportunity to add a storytelling component to your eLearning course. Who is presenting the information on the board to the learner? Is it a character in your course? Is it an avatar guiding the learner? I want to show you a way that I use my display boards in 3 views to incorporate storytelling into the course and move beyond just displaying the information.
- Create an establishing shot to set the scene
- Transition with a mid-range shot
- Zoom in to display the information
On the slides above, the first two views just contain the intro and set the scene, and the third view contains the bulk of the content in a zoomed-in view that is better for viewing the content.
Get a free display board template
Watch the video for more info
Below is a video that shows more about how the files are setup so that you can learn to create an eLearning display board template.
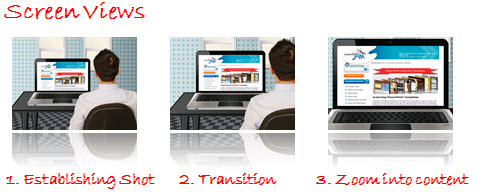
Use 3 views for screens too
With monitors or tvs, I might use an over-the-shoulder shot using the same method, as you’ll see below:
The idea is the same. You create an establishing shot, then transition to a view that allows you to display the information.
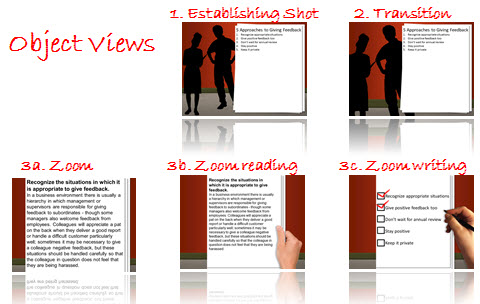
Use more views for objects
Sometimes, if I’m dealing with a smaller object (e.g. a sheet of paper, clipboard, or tablet), I’ll use 3 different zooms, for 5 total screens: Establishing shot, transition, zoom standard, zoom reading, and zoom writing.
I like the reading view because it makes it feel like the character or learner are reviewing information. I like the writing view because it symbolizes the character or learner taking some action (like checking items off a list).
What to do next
I hope that you found this useful and that you’re able to incorporate this technique into your eLearning courses.
If you’re looking for design inspiration, we just launched more than a dozen display board templates. Check out our eLearning Templates page and select the authoring tool of your choice to see what we’ve come up with.
If you’re looking to get your hands on the templates, as well as our entire library, I encourage you to become a member. I’ll also include a free download in an upcoming post when I dissect one of the templates and show you how to build it from scratch. Stay tuned.

