Film and television directors are masters of visual storytelling.
You can improve your eLearning courses (or videos) a lot by incorporating some of the techniques they use.
Today, I want to look at the camera angles that video directors use. I’ll then see if I’m able to recreate each of them using only PowerPoint and still images.
Why angles are important
Camera angles are a critical element of visual storytelling.
Directors are very deliberate about where to place the camera and what to include in the frame. The choice of angles is an art form unto itself, because each type of shot functions in a specific way.
If used correctly, proper use of angles will enhance the story without drawing attention to the shots. They should flow together in an organic manner and seem “invisible” to the audience.
By learning the essential angles as well as some specialty shots, you will understand the basics for crafting a story told in a visual manner.
Essential Angles
Let’s take a quick look at some of the basic shots first. With just these 6 angles, you’re well on your way to telling a better visual story.
These are all generally locked down as static shots (and then cut to in various ways in editing). Since I’m trying to recreate these effects in PowerPoint with still images, the “static” nature also makes these angles much easier to replicate. 🙂
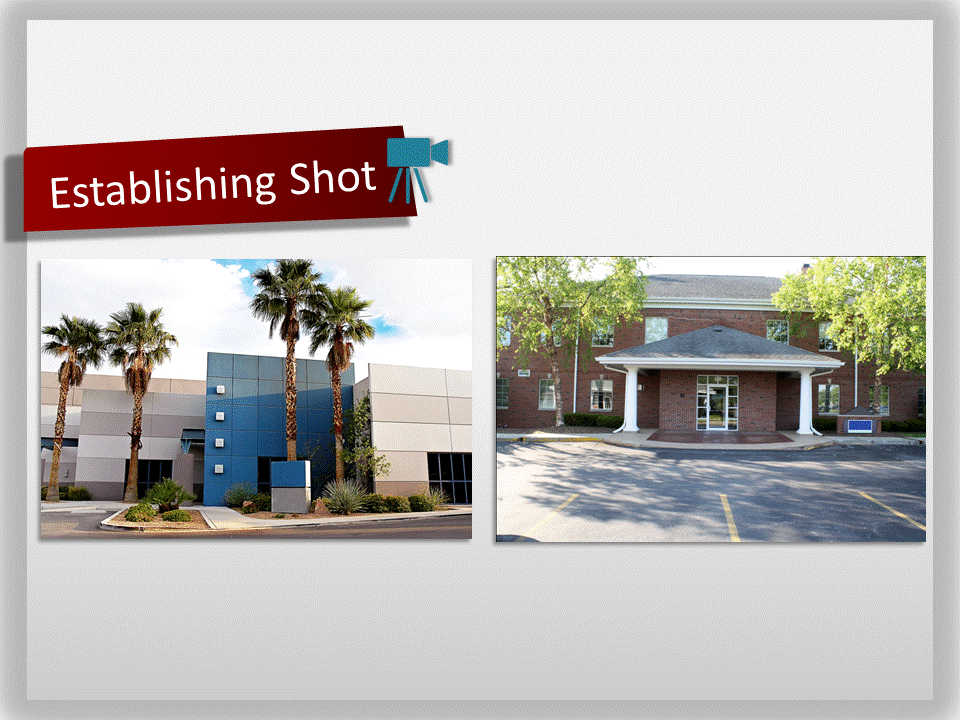
1. Establishing shot
This is used to introduce a setting, usually an exterior shot of the building where the action takes place.
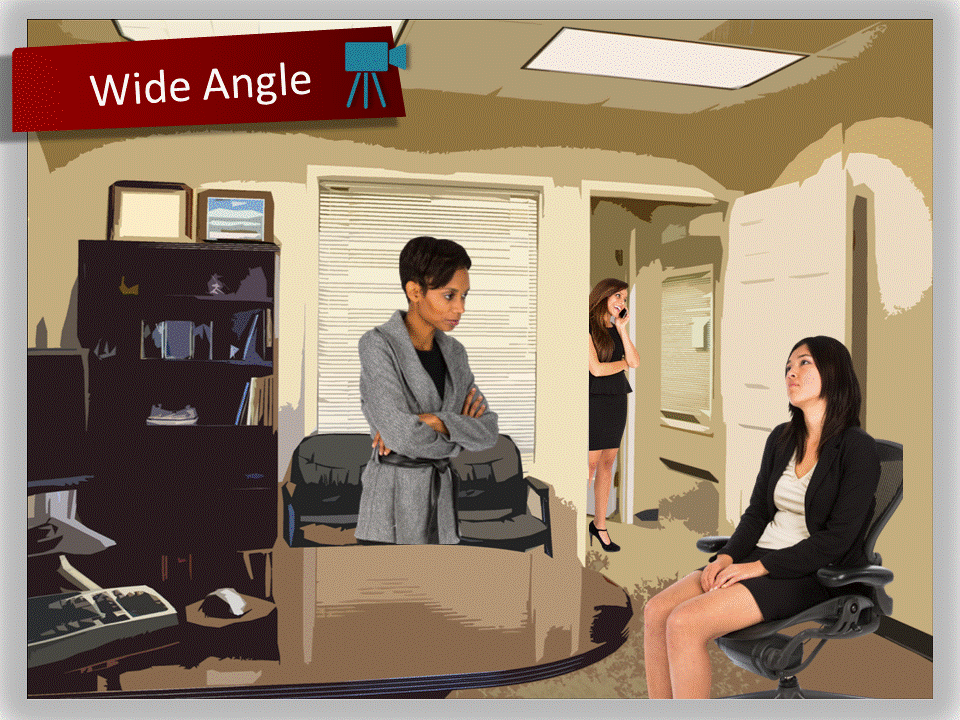
2. Wide angle
The lens is zoomed out all the way to see the widest view possible. Establishing shots are usually wide angles. These shots are good for showing off locations and crowd scenes or distancing the camera from the subject.
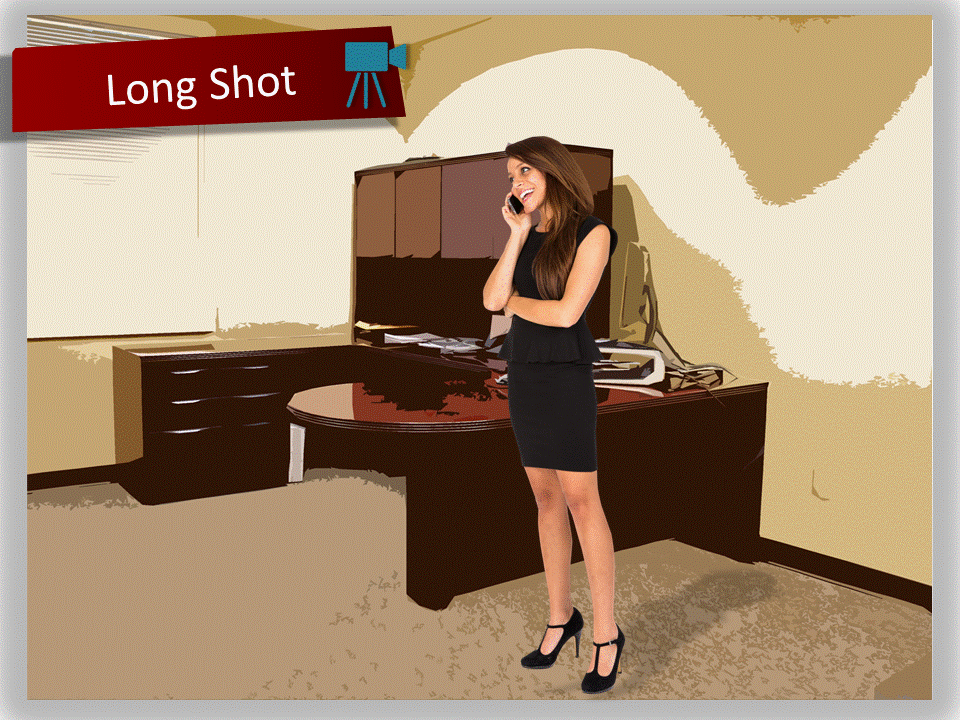
3. Long shot
When photographing a person, you see the entire person’s body from head to foot, with the subject filling the frame from top to bottom. Use long shots to see important action, such as running or dancing, or when you first introduce characters.
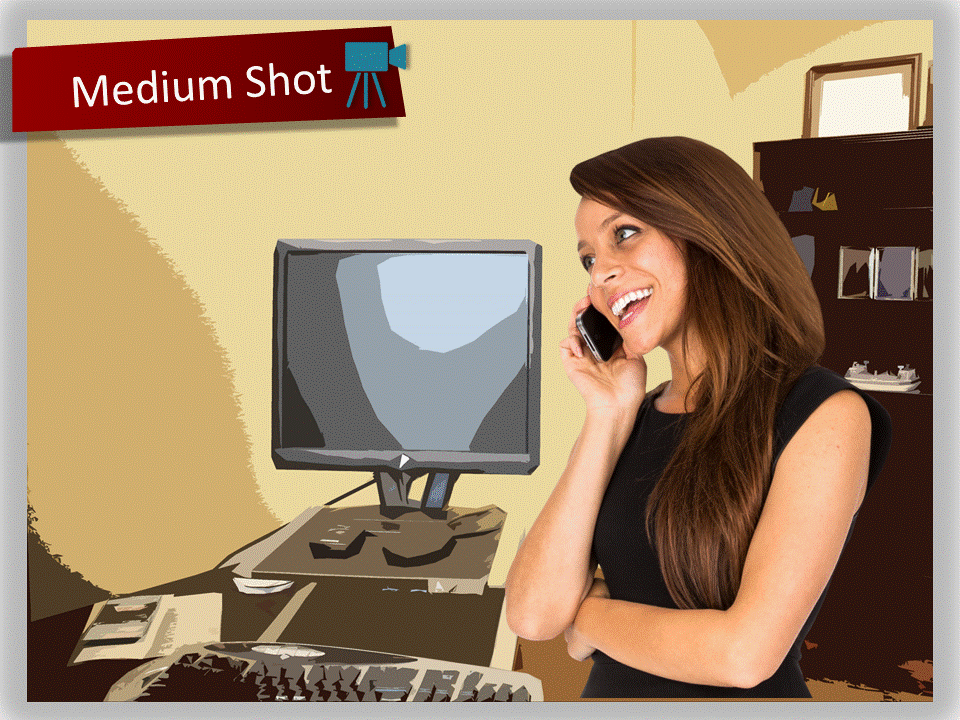
4. Medium shot
The camera sees the subject from the waist up. Medium shots are good for general conversation or basic action. It’s not too close to be personal, but it brings the audience in to see details, like expressions.
5. Close-up
This is usually head and shoulders, though it can vary a little. Close-ups are good for being intimate with the subject and showing off facial expressions. Conversations between two people are often cut between close-ups of them.
6. Extreme close-up
The subject’s face or other attributes (eyes, hands, mouth, etc.) fill the entire frame. Used rarely, extreme close-ups are intended for when some detail explicitly needs to be shown, such as eyes squinting or an object being picked up.
Specialty Angles
Once you have a grasp on how to frame those basic shots, it’s time to move on to more complex ones.
I had to get creative on a few of these here to create video effects with still images!
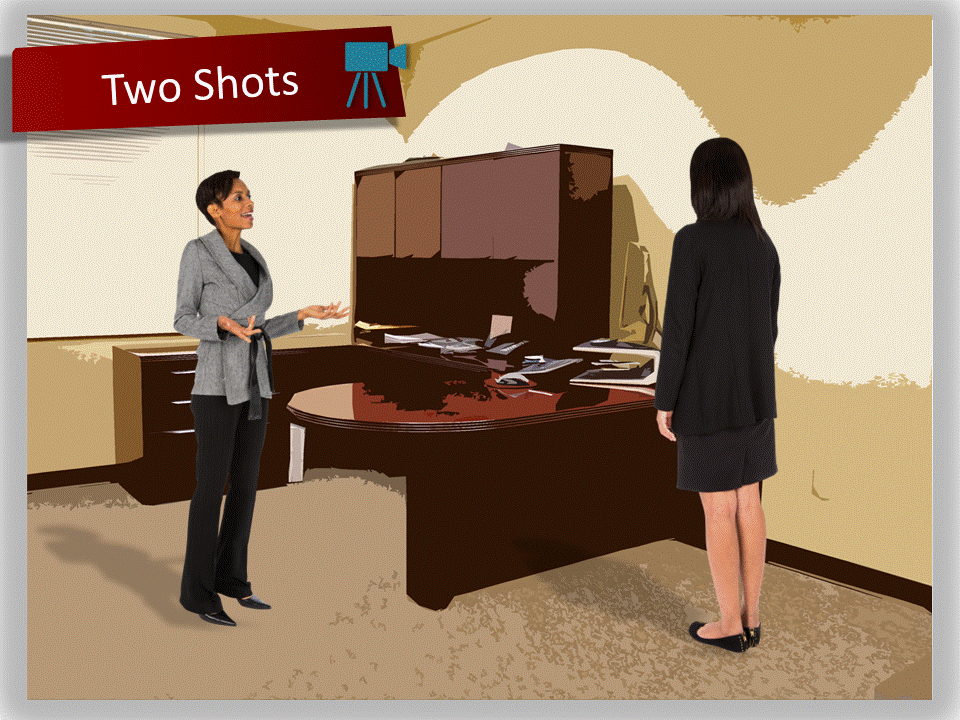
1. Two-shot
Simply put, this is two people in the frame. They can be talking to each other, walking side by side or interacting in any other manner. A two-shot can be done in long shots, medium shots or close-ups.
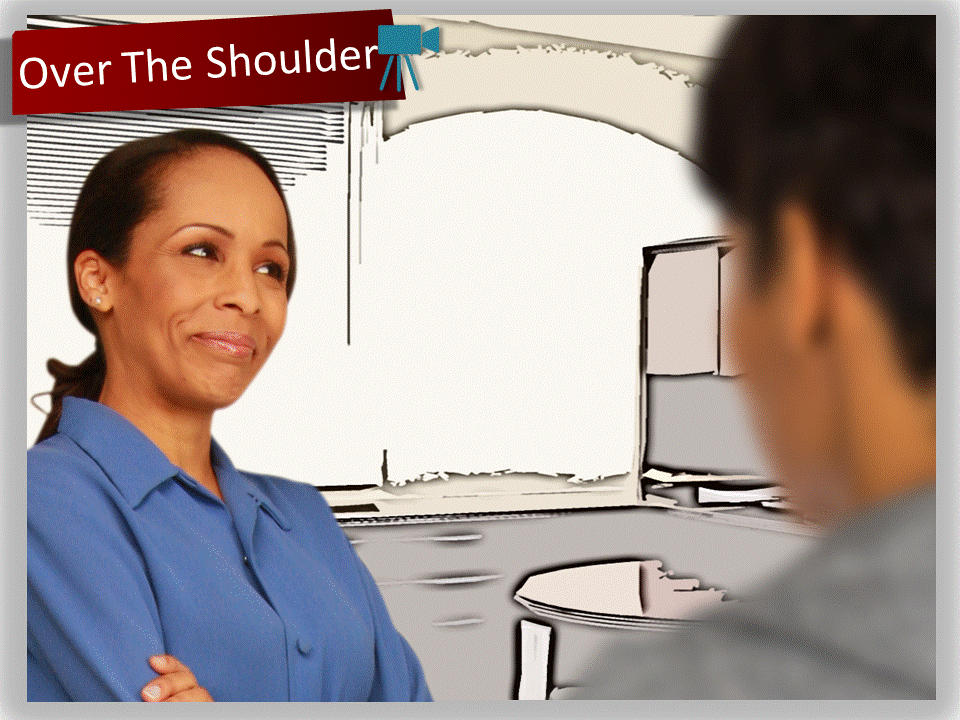
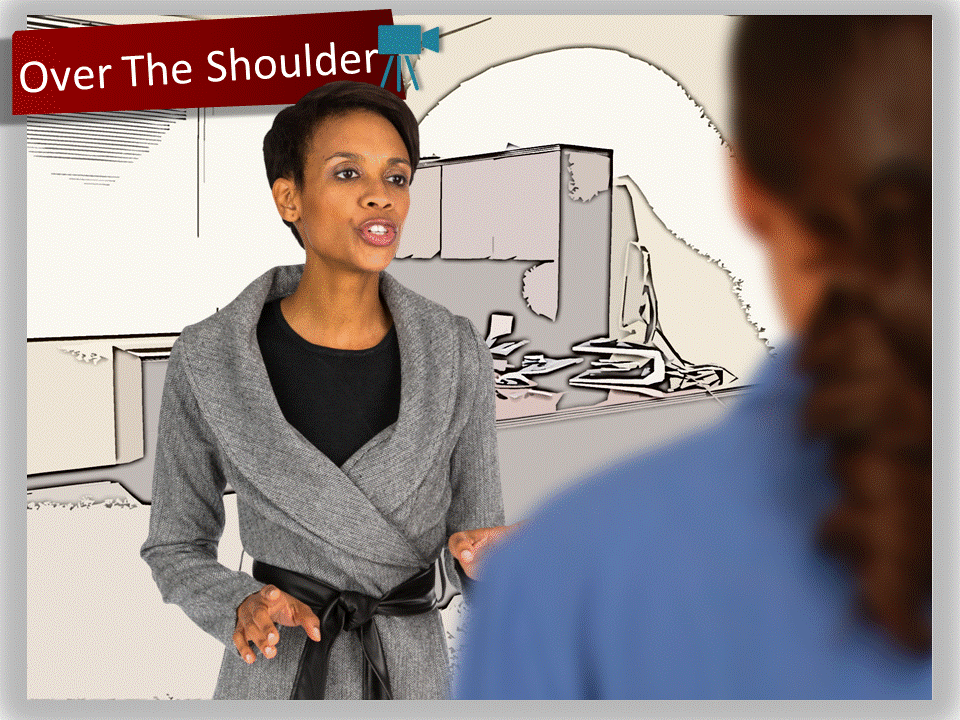
2. Over-the-shoulder
When two people are facing each other while talking, place the camera over one of the character’s shoulders to focus on the other person, who is speaking. In the framing, you should see the back of the head and part of the shoulder of the person in the foreground. When you cut to that person, go over the other character’s shoulder to keep the framing similar.
3. Zoom shot
While the camera is running, either zoom in or out using the electronic zoom on the camera’s lens. This changes the size of the image on screen, but it doesn’t change the perspective. Since this is a running camera, I created the video effect below in PowerPoint.
4. Dolly shot
Using wheels or a track, physically move the camera toward or away from the subject. This changes perspective, which means that you get the sense of movement as if the audience is actually traveling to or from the subject.
5. Tracking shot
Again, the camera is on wheels or a track, but moves from side to side or through all three dimensions. Tracking shots can be used to follow an action, like a character walking parallel to the path of the camera.
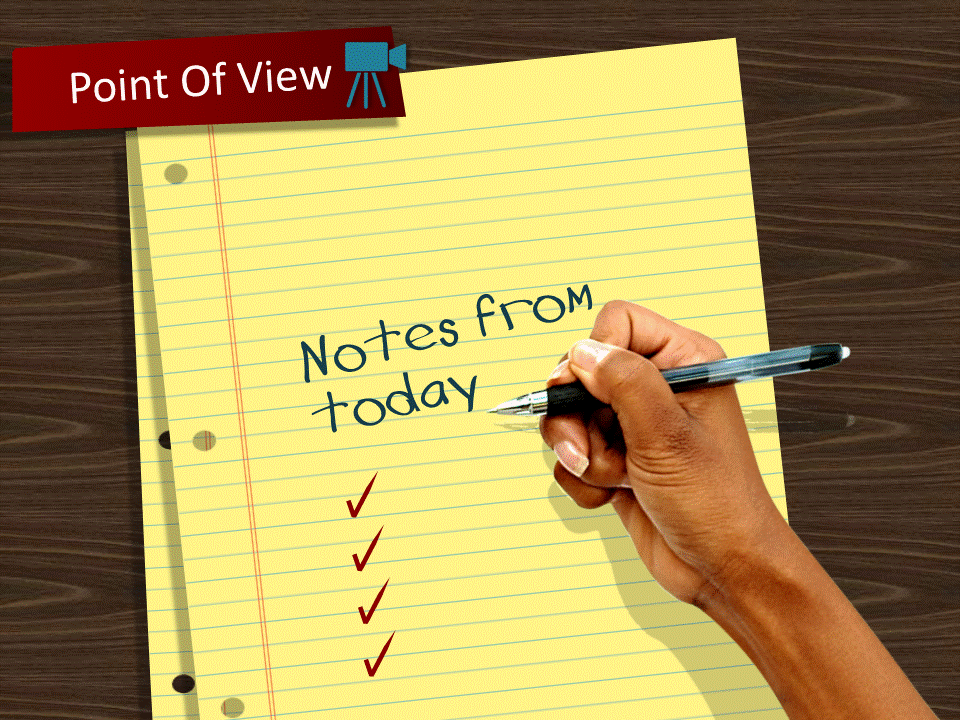
6. POV
This stands for Point Of View. It is when the camera is used as the character’s eyes. In other words, the audience sees exactly what the character is seeing. If you have a person looking out a window, for instance, cut to a POV looking through the window to show the audience what the character is seeing outside.
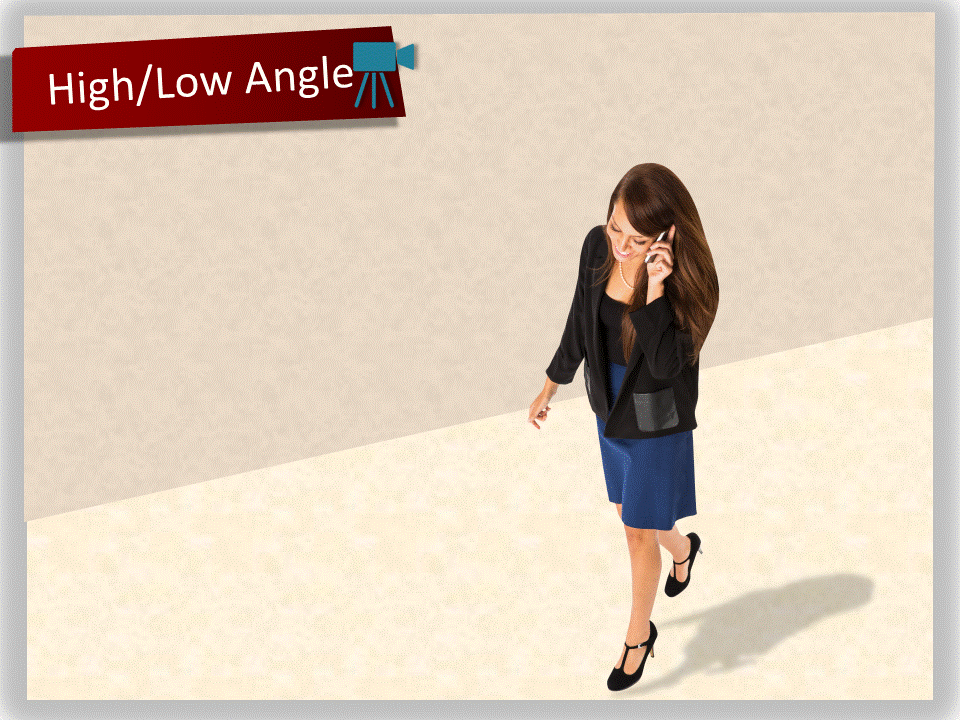
7. High angle
The camera is higher than the subject. High angles can be used for establishing shots or to see things from a bird’s-eye point of view. This perspective diminishes the subject and can make a person look smaller than in reality.
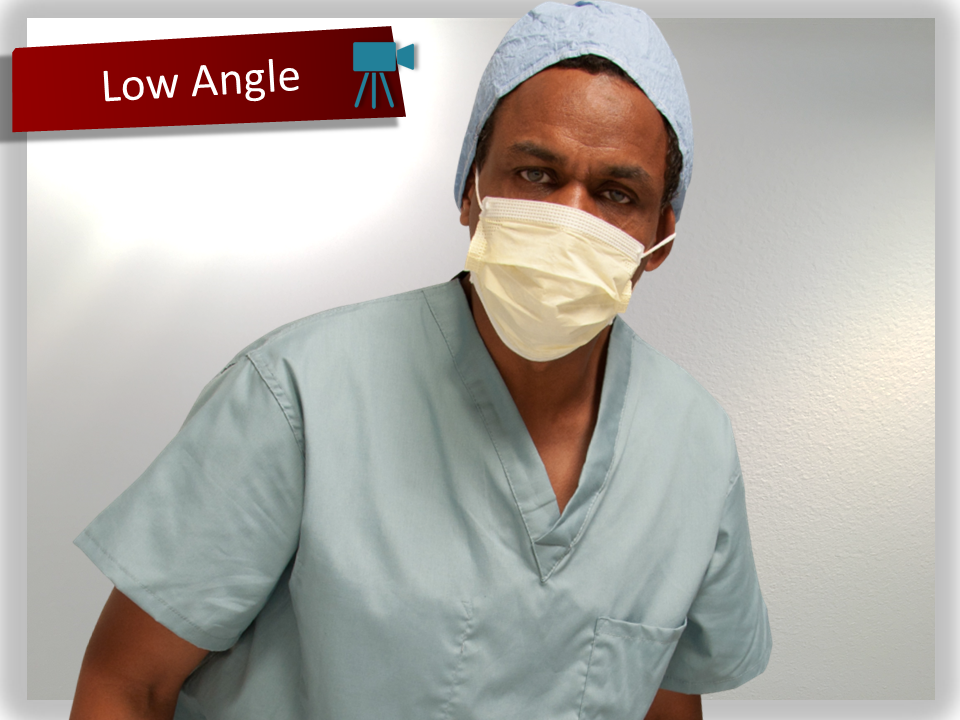
8. Low angle
The camera is lower than the subject. Low angles heighten the dramatic element and make the subject look larger than life.
Watch with a closer eye
The next time you watch a movie or a TV show, pay attention to how these filmmakers constructed their story visually.
- Did they use an establishing shot?
- How did they transition from wide shots to close-ups?
- When did they use dolly shots or tracking shots?
By critically examining how the pros do it, you can learn to use the same techniques that will bring your courses and videos to life.

