Prototype Your eLearning Projects
Design a Course Mock Up in 7 Simple Steps
ULTIMATE GUIDE TO ELEARNING DEVELOPMENT
- Plan Your eLearning Projects
- Manage Your eLearning Projects
- Structure & Script eLearning
- Design & Prototype eLearning
- Visualize & Storyboard eLearning
- Develop & Build eLearning
- Publish & Deliver eLearning
Bonus 1: eLearning Development Calculator
Bonus 2: eLearning Best Practices Pro Tips
Early in the program development process — even before the script has been polished and finalized — it’s smart to spend some time creating a design prototype. Sometimes called a course “mock up,” this super-short version of the planned program shows off proposed solutions around how the program will look and how information will be presented. It’s a mini-program that answers basic graphic and instructional design questions so that your stakeholders can weigh in on what works and what doesn’t.
Get our free eLearning prototype styles template today!
4 detailed style guides you can use to create an eLearning prototype.
Benefits of Building an eLearning Prototype
Seeing the Program Helps Buy-in
It’s recommended that you complete the prototyping step early in the project. Doing so helps set expectations about program design, and gives you an opportunity to resolve any issues around look-and-feel factors before the building begins in earnest.
It can also aid in clarifying proposed methods of presenting information. For example, your stakeholders may not be familiar with scenario-based approaches to elearning. The design prototype can put a scenario in front of them so they can begin to visualize the solution you have in mind, so you can have a good conversation about options.
As the program developer, you will also benefit from creating a design prototype. Even if it’s a bit of a detour away from scriptwriting, you’ll find that getting early buy-in from your stakeholders for your proposed instructional design approach will allow you to structure content and write more confidently. In addition, having a clear picture of the program’s design means that you can write to support the slide building that will come later.
Take Advantage of New-project Enthusiasm
Once they’ve signed onto a project, your stakeholders are going to be eager to see progress! A prototype delivered early in the project rewards this enthusiasm. In addition, the prototype helps buy a little bit of patience — just like an appetizer at a fine restaurant that allows patrons to anticipate how great their meal will be. You want your stakeholders thinking positively about your project from start to finish.
Another get-it-done early incentive is that early in a project, there’s still plenty of time before the due date. That means you can adjust design approaches, discuss instructional design decisions, and iterate until everyone feels great, all without the stress of a ticking clock and flying calendar pages.
How to Create an eLearning Prototype
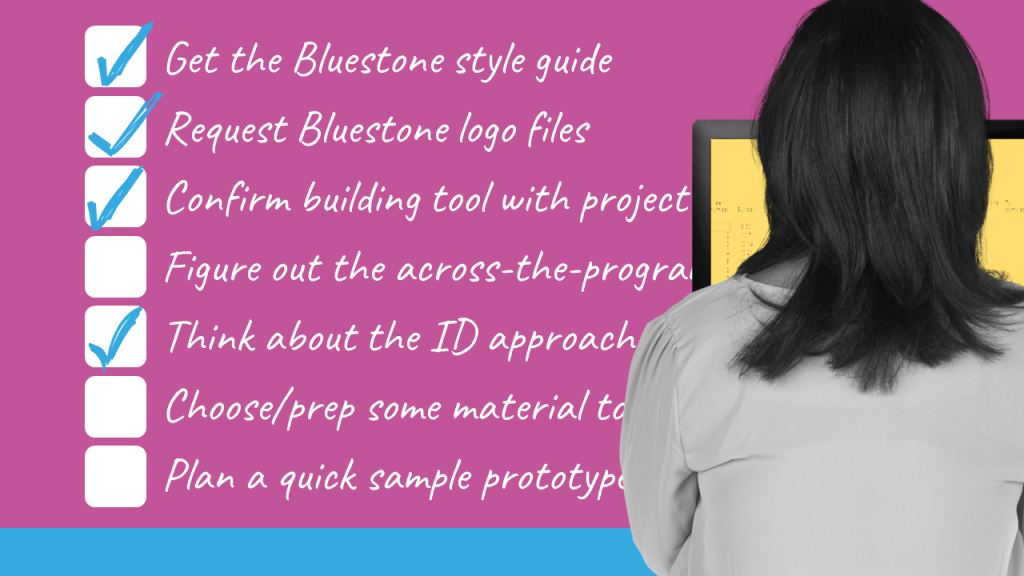
Prototyping isn’t difficult and, because a prototype is a super-mini program in which content is mostly roughed-in, it’s actually kind of fun. Take advantage of prototyping to set the course for your program while stakeholders are interested and engaged, the time pressure is low, and the design options are wide. Here are some steps to get this part of the project done:
1. Ask for the corporate style guide
One of the most effective ways to ensure that a program feels right to stakeholders is to incorporate the right colors and fonts into your design. Most companies and organizations have a style guide that specifies both of these things, and this document is an elearning developer’s best friend. In your authoring tool, build a color set that matches the specs in the guide and set the default fonts to match.
2. Request clean corporate logo files
Along with asking for the style guide, you should acquire the corporate logo(s) in a high resolution file that has a transparent background. In practice, this will typically be a .png, or a .svg file. (If you have familiarity with Adobe Illustrator, you can also accept the file in .ai or .pdf, and use those files to output the logo file you need.) You’ll use the logo file in various locations in your program, so it’s important that it looks good at all sizes, can be placed over colors other than white without displaying a white background, and is the actual logo the client requires.
3. Determine which authoring tool you will be building in
There are a variety of elearning authoring tools available, and factors such as client preference, your own experience, and long-term plans can impact which one you will be using to build your program. Just in case a tool has not already been specified, this is a good time to make the determination. Do so in consultation with your stakeholders.
4. Make the basic program-wide decisions
The prototype lets you test some decisions that will affect your program throughout the development process. For example:
- What slide size will you employ? This is best determined by thinking about the devices on which your program’s audience will most likely view the program, and by considering the nature of the material and how it will be presented. Typically, slides default to a 4:3 (squarish) or a 16:9 (wide, low rectangle), and your slides can also be set to a custom size. You must set this early, because downstream changes can result in significant rework.
- What “player” options work for your program? Each authoring tool offers a set of choices about the interface that shows around your slides. Choose from among default or customizable options, or consider not using a player and instead creating your own on-slide navigation.
- What do your basic slide designs look like? Here’s a spot where you can put on your graphic designer cap and have some fun. Using the colors, fonts, and logos you set earlier, create some solid designs for the slides most likely to be used in your program. These include, for example, section opener slides, summary slides, interaction and quiz slides, and a variety of content presentation slides. (Tip: If this part of the project sounds a little daunting, use a pre-built template customized to your project. The eLearningArt JumpStart templates are a good example of varied templates that can advance your project quickly.)
- What does the program opener slide look like? Because it’s the slide that grabs the viewer’s attention and sets the tone for the program, the opener slide is an important one. Determine what text must go on the slide as titling, consider whether there will be a short bit of program-appropriate music (no longer than 15 seconds from start to finish!), and set an attractive background. Once you have the pieces in place, add some animation effects to draw the viewer in, just like the pros do in movies and TV shows.
5. Match content to instructional design
This step requires some clear thinking and a dive into the material that is being presented in your program. The overarching goal of creating any elearning program, of course, is to transfer specific content from the program to those who view the program. You must be the judge of how best to accomplish that objective, but you have a number of options to consider. These range from simple click-and-read methods and narration-driven presentations all the way to highly interactive branching scenario-based programs, and everything in between. The question of where in that range your program should fall will best be guided by the nature of the content that must be presented, time and resource availability, audience size and profile, and other factors. In your prototype, illustrate (and be ready to defend) the instructional design choices you think are best for the program at hand.
6. Choose some representative material to build out
Because the prototype step happens early in your project, it’s not likely that you will have a completed script to work with. That means you’ll need to draft up a few small snippets of the script to use. Grab material from any spot in the script, keeping the following in mind. For your prototype, choose material that:
- Is highly representative of the kind of material that is most prevalent in the program.
- Is making your stakeholders nervous (that is, they think it will be difficult to communicate in elearning, or they consider the material too technical to present clearly).
- Gives you an opportunity to show user interaction options (but only if that is part of your project’s scope, of course).
- Can be used to show how quiz questions will be handled.
- Addresses any questions or areas of uncertainty that may be hanging over the project.
7. Plan for a cohesive, but sample-sized prototype
When you create the scripts and plans for the material you choose, keep everything short and simple. Prototype runtime should be no more than 3 – 5 minutes, so your script shouldn’t be much more than about 500 – 600 words. You can forego the kinds of transitional elements needed in a fully-realized elearning program (intros, outros, etc., unless those are important to show your stakeholders). Feel free to use strategies like adding a slide in between the elements you are demonstrating that states what’s being shown next (for example, before a scenario, add a slide with “Character Conversation Scenario” or “Scenario-based Content Sample”). At all points in your prototype development process, remind yourself that you’re not building the project that will be used by the learning audience, just one that shows (and sells) your ideas.
Build and Share Your Program Prototype
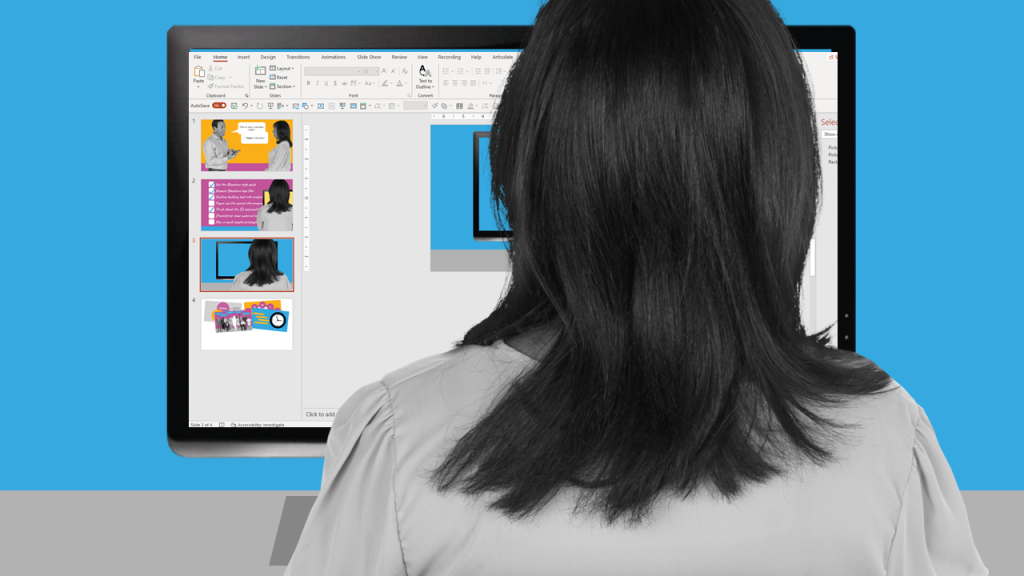
You now have all the elements in place to get your prototype built and delivered. We suggest that you build your prototype in the authoring tool you will use to create the final program. This helps you solve any problems that may be related to the tool itself and allows you to more easily carry forward your design decisions into the production file. However, if for any reason you cannot build your prototype in an authoring tool, you’ll find that mocking it up in PowerPoint, Keynote, or Google Slides will allow your stakeholders to visualize your design, even if interactions, audio, and animation effects may not be as easily demonstrated.
Once the prototype is completed, you can deliver it to key decision makers via email (if a PowerPoint or similar deck), shared files (for example, Google Slides), or a review portal (such as Articulate’s Review 360 for Storyline files). You may wish to meet with your stakeholders after providing a short review period, so that you can hear and address their feedback directly. Again, remind everyone that the project they are viewing is just a sample for discussion purposes, and decide together whether revisions to and iterations of the prototype are needed and/or supported by the project resources. If not, close notetaking and a commitment (with follow-through!) to deploy the requested changes in the final project are called for.
In Conclusion
Through the process of creating a project prototype, you will get a great handle on the project ahead. Take as much time as you have to create a sample project that you feel comfortable with and proud of — a quality prototype builds stakeholder confidence, guides project building, and serves as a launchpad for the full project build.
eLearning Prototype FAQs
A prototype is typically a short but operational program used to show design approaches, content solutions, and general “look and feel” to a client or stakeholder. The prototype is typically delivered early in a project, before all the content is scripted and storyboards are prepared, because its purpose is to get stakeholder critiques and/or buy-in while it’s still very easy to change course and come up with different solutions.
Building a prototype quickly at the start of a program ensures that the approach you’re taking is in line with what stakeholders are expecting. Nothing is worse than spending dozens of hours building only to find out that stakeholders were looking for something different. A rapid prototype doesn’t need to have all of the components of a full course in terms of length or interactivity, but the goal should be to demonstrate both the design and general approach you plan to take. For example, for the design, what will a single slide look like in terms of color schemes, fonts, and use of graphic assets. For the approach, is the core of your solution a scenario, an interaction, or a more traditional click through course where the organization and design of the information is the most important element. Create the minimum amount required to show both the approach and the design. In terms of tools, you can use a simpler tool like PowerPoint rather than an authoring tool like Articulate Storyline or Adobe Captivate. Or, if you want to sketch it by hand, that’s fine too!
For your prototype, use real content from your program source material. Avoid spending too much time on the opening slides (that is, program title, introduction, learning objectives, and navigation slides) that typically appear in an elearning program. Instead, take an interesting bit of content and show the ways you will be delivering it in the program. Add examples of any interactions that would be appropriate for your project, use the proposed color set and font selections throughout, and apply any templates or master slides you may be planning to use. You can “test” your stakeholders with creative solutions in the prototype to see what they push back on, but avoid including solutions that will be too costly to deliver program-wide or that you don’t feel 100% positive about. After you and your stakeholder have agreed to the prototype, you’ll have a good sense of the design direction for the program.
Interactivity in elearning programs is often referred to in terms of “levels.” At lower levels, the interactivity comes mainly in the form of viewer interaction with program navigation. At the highest level, the interactivity would be closer to that of a game, where all action and forward movement in a program is determined by choices made by the viewer. Most elearning falls somewhere in the middle between these two. Navigational interaction may be present, but there are also learning interactions, such as drag-and-drop exercises, click-to-reveal content delivery, and other activities that bring the viewer into the program experience. Your own choices about interactivity will be influenced by program content, project resources, and the expectations of your stakeholders. Make sure to give the matter some thought before jumping into program development.

